
Scrapbooks are a useful way to collect and contain ephemera, but often the structure is not prepared to handle the addition of 3-D items and over time, the covers can end up splaying and stressing the binding, causing it to fail from the addition of too many items. This structure takes in to account the space needed for ephemera being added to the pages so that once the pages are full, the covers will remain at a 90 degree angle or less. This step by step tutorial is intended for archivists, librarians or anyone who is interested in making a lasting and durable scrapbook.
Materials Needed
Bookcloth
Binders Board
PVA Glue
Glue Brush
Linen Thread
Bookbinding Needle
Awl
Cork Backed Ruler
Exacto Knife
Pencil
Self Healing Cutting Mat
Japanese Screw Punch
Heavyweight Paper
Bone Folder (preferably teflon)
Decorative Paper
3M Double Sided Tape - optional
Mylar Sheets - optional
All materials can be found at suppliers such as Dick Blick or Talas.
A note about permanence - use the best quality materials you can find. This book will last for years and years and you want to use acid-free paper and board so that the pages will not yellow or become brittle over time.
If you plan on teaching this structure to others, I suggest pre-cutting the bookcloth, binders board, decorative paper and end sheets to simplify the process and then share the link to this blog for participants to refer back to for reference.
For attaching items, I recommend 3M double sided tape. If you would like to attach something acidic, I recommend putting it in a mylar sleeve or envelope and then attach the mylar to the page.
Tutorial
To start, choose a size for your scrapbook, the model pictured is 5.5" wide by 8.5" high.
Cut a piece of bookcloth a 1/2" shorter than your height and 7" wide.
On the paper backed side of the bookcloth, draw 4 vertical lines a half inch apart from the middle of the bookcloth out. Then draw a horizontal line 1 inch down from the top, one inch up from the bottom, across the middle and then at the mid points between the mid and top and mid and bottom. It should look like this:

Using a Japanese Screw Punch and the smallest tip, punch out a circle at the intersection of all of these lines. Alternatively you could use an awl. These will become your sewing stations to attach your folded signatures of paper.

Next, prepare the signatures. First you need to determine the grain of the paper so that you fold the paper along the grain and your pages will open flat. When you gently try to fold the paper, the way that the paper will fold with the least resistance is with the grain.

Against the grain

With the grain
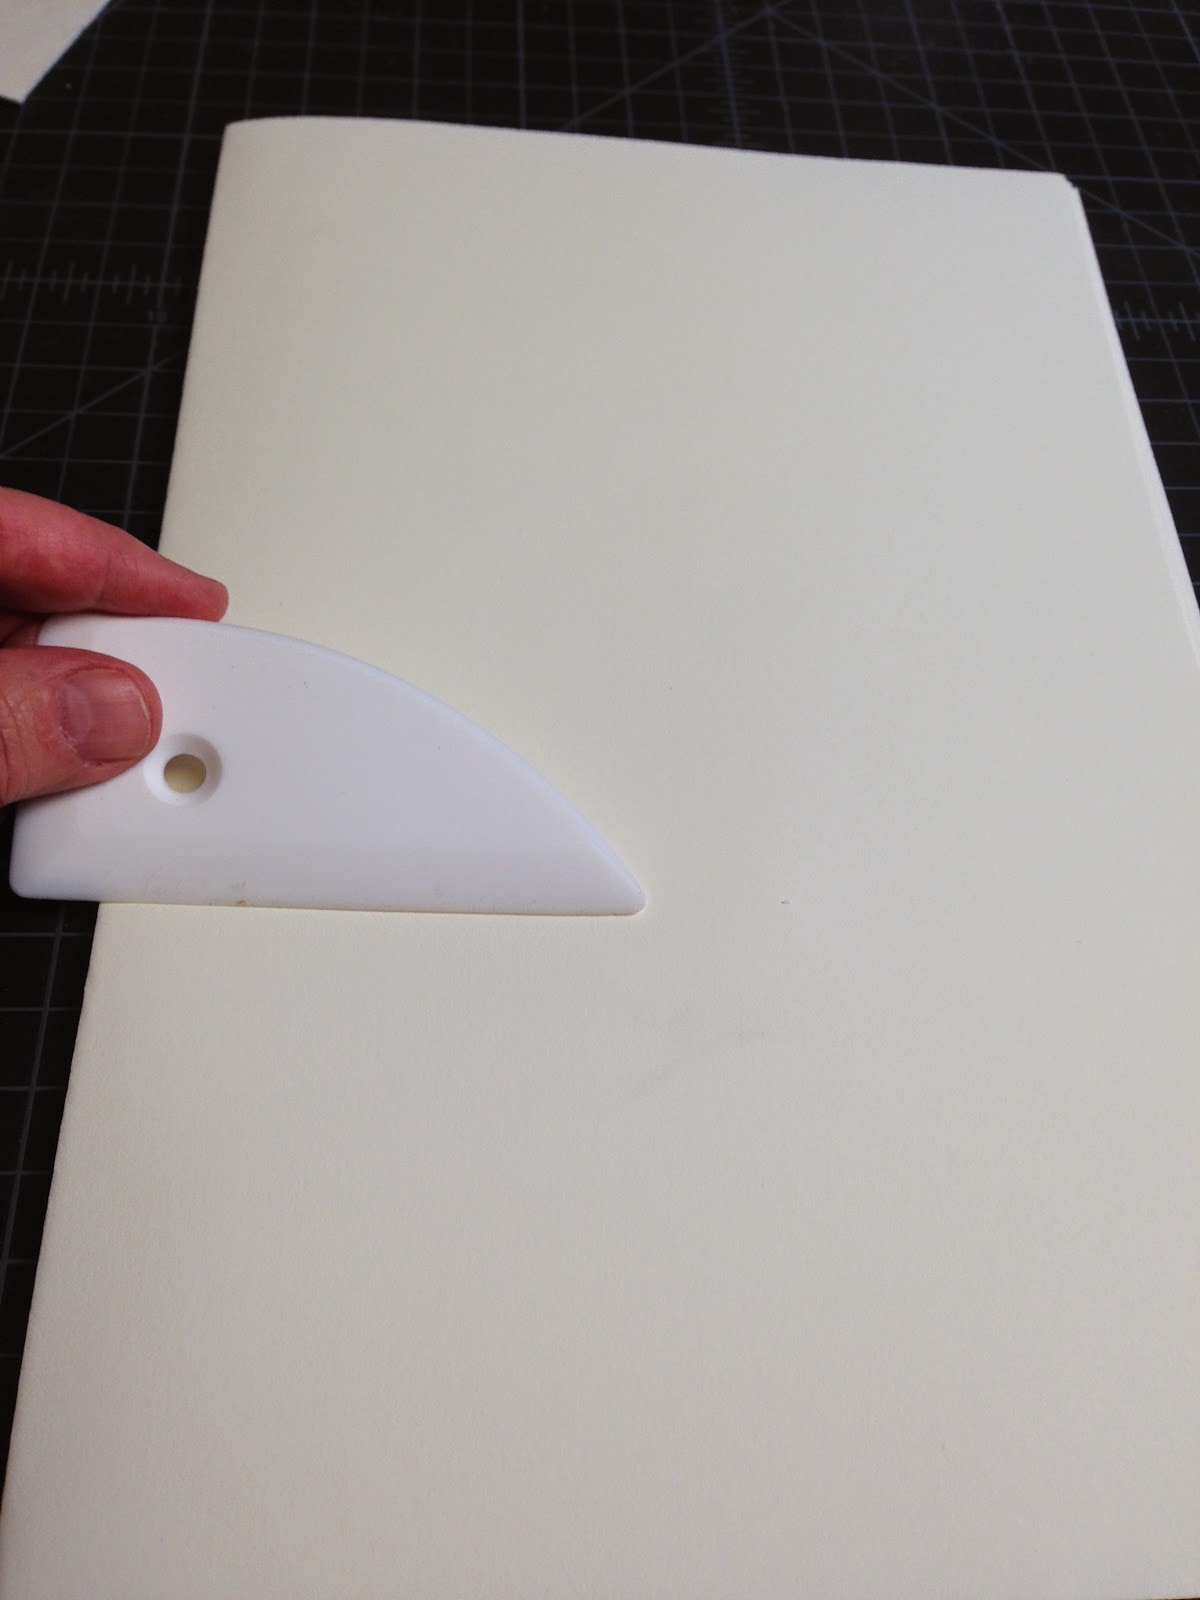
Fold 4 sheets in half with the grain and crease with a bone folder. If you use a teflon bone folder you will not create any burnishing or shiny parts.
Create 4 signatures of 4 nested sheets of paper in each signature.
Trim your signatures to desired size.
Next, create a jig or punching guide for your signatures.
You do this by making a single folded piece of paper the same height as your signature, 4 inches wide and folded in half lengthwise.
Place the bookcloth that you have punched the holes out of on top of the jig and center top and bottom since your cloth is smaller than your signature height.
Align one of the rows of holes along the fold of the jig. Put pencil marks along the fold through the holes.

Aligning the holes

Transferred pencil marks

Now place the jig inside each signature and punch holes through each signature.


Next thread your needle and point your needle through the thread about 2 inches away from the eye and pull taught. This will anchor your thread without having to tie a knot or add extra bulk that would need to pass through the paper and bookcloth.


Next, turn over your bookcloth so the cloth side faces up. Take your first signature and enter through the middle hole from inside the fold and pass through the middle hole of the outside row of the bookcloth, with the cloth facing you.

Attaching the first signature to the cloth
Here is a diagram of the order of steps to sew in order to attach each signature to the bookcloth:

When you are about to tie off your signature inside the fold, make sure when your needle comes from the back that it lands on the opposite side of the tail and does not split the thread. Now you are able to tighten the stitches by pulling the opposite ends of the thread and tie a double knot in the center. Trim tails to 1/8".

Proceed to attach all signatures to the bookcloth. It should look like this from the paper side of the cloth when complete:

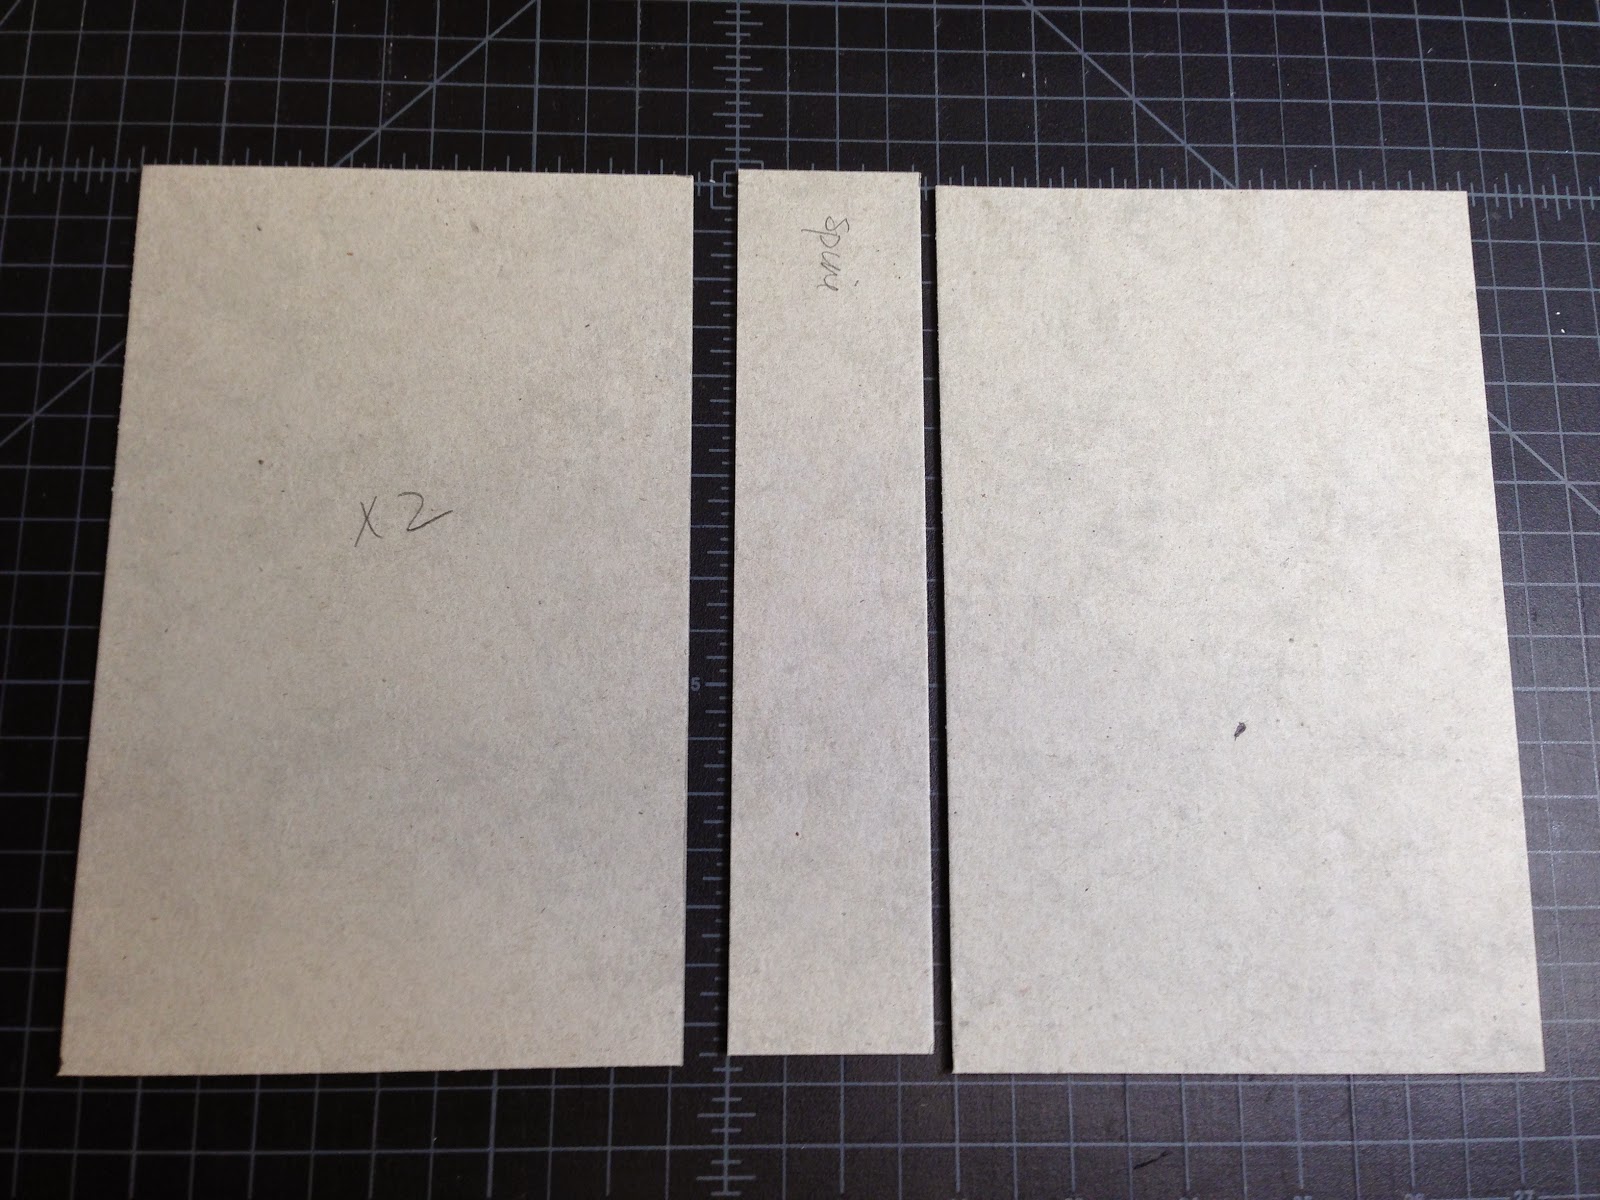
Now it is time to prepare your boards and cover cloth. Cut 2 boards that are slightly larger than your finished signature size. Cut a spine board that is the height of your cover boards and the width measurement is from the outside of the first signature to the outside of the last, plus 1/4".
Next, you can choose to cover your whole book entirely in bookcloth, or just the spine and a portion of the cover for strength and space to add decorative paper, maps, or another color of bookcloth. The model is shown with bookcloth and handmade paper. To proceed, cut bookcloth 2 inches higher than the height of your boards and measure the width of your spine, plus 1/4" for hinge space plus the desired width on your front and back covers. Mark a line one inch down and up from the top and bottom of the cloth on the paper backed side. Measure the marks for placing your cover boards and spine as guidelines for placing glue.

Glue out boards and place on cloth.

Glue out 1 inch tabs at the top and bottom and use your bone folder to turn up tabs and bone down the hinge spaces to adhere cloth to cloth and create a strong hinge.

Choose decorative paper to place on remaining cover and glue out and bone down. Apply glue to boards, not paper so that you are only placing glue where you need it.

Using a 1/2" wide cork backed ruler, trim off excess.

Trim off corners a boards thickness away, apply a light layer of glue to the paper flaps and using your bonefolder, turn and bone down flaps. Start with the long foredge first. Using the edge of your bonefolder, crimp in the edges.

Glue the remaining sides, repeat on back cover.

Finished edge
The next step is to attach the textblock to the covers. Place a piece of scrap paper inside the front cover of the textblock between the paper and the bookcloth so when you apply glue to the cloth, you do not get any on the textblock. Glue out, remove scrap paper and adhere the flap to the inside of the cover, centered top and bottom. Use your bonefolder to adhere the cloth to the board.

Scrap paper inserted

Bookcloth adhered to inside cover
Repeat on the other side, adding in the scrap paper to glue out the flap, but also applying glue to the spine, over the threads and all along the remaining cloth. Bone down cloth, including in between the signatures.

To finish off your book you need to cut and place endsheets. These can be the same decorative paper as on the front of your book or any of your choosing. Here more handmade paper was chosen. It should be trimmed to the size of your cover boards, minus an 1/8" reveal all the way around. So the size of your boards minus a 1/4" on the height and width. Glue out and adhere using your bone folder. Enough pressure to adhere but not too much to shift or gouge the paper.

Your book is complete and ready for whatever content you would like to add.

As for content - this scrapbook can be used in a variety of ways but is most suited to adding 3 dimensional objects. This book was created to keep track of projects and materials used. Here is a photo of the of the first page to get an idea...
